Ideas to protect pool equipment from the sun?
- By Skenn81
- Everything Else
- 17 Replies
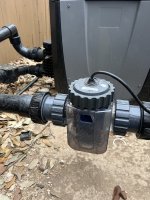
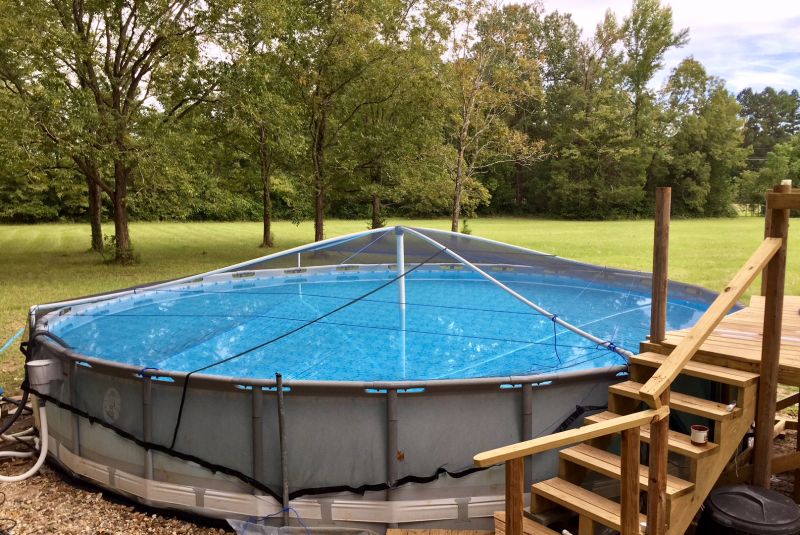
With the angle my house is set at the destructive forces of the Florida sun beats down on the pool equipment for at least half of the day. It hits the PVC, pump, swg, everything, full force for hours and hours and hours every day. I am starting to worry that over time it's going to destroy everything so I want to protect it as much as I can. The area itself is about 4 feet wide, 3 1/2 feet deep, and a little over 2 ft high with the filter. I cant just plop a shed down on it as on the back wall there are the wires and boxes and only an inch of room between the equipment and the house.


The sun comes from the left, its in the shade right now as it's below the trees but once it gets a little higher it travels right above this area and beats down on that equipment all day.
The simplest thing I could think of is to just get a beach umbrella and put it over that but that's not much of a long term solution and would blow down next time a bad storm comes through. The electrical boxes should last a very long time so not too worried about those, just the equipment itself is what I want to protect.