New DIY IG Pool Build Pittsburgh PA

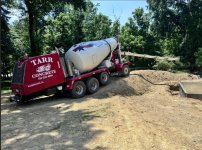
Friday was go-time for the concrete collar. I ordered 8.75 yards, based on my calculations that got me right around 8'' all the way around. I'll summarize my experience on pouring the concrete collar in a little bit. It was hot as heck and I did it all by myself. Hardest I've physically worked in a long time.

Concrete Truck 1.jpg
 
Finally documenting my footer pour.

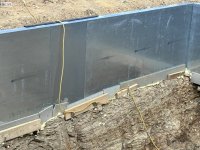
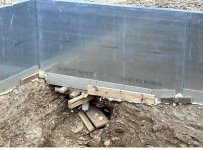
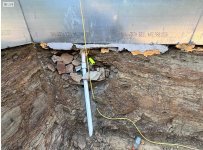
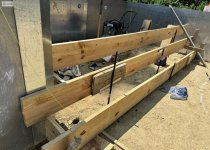
I had a few large gaps at the base of my pool walls that I was nervous of concrete getting underneath and flowing into the pool. I added some bracing, added additional bracing to support the bracing, and then added spray foam. It was probably overkill, however I've never poured concrete before so I was erring on the side of caution.

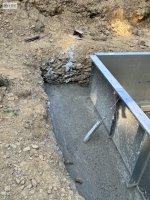
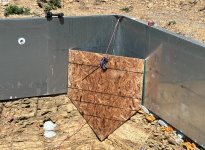
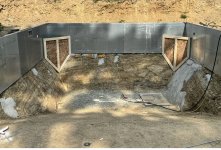
I also had a large rock come out in the deep end during excavation, so I had to build some bracing to ensure the concrete would not flow into the deep end. My supports looked like Crud, but in the end it did its job.

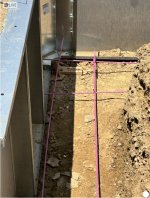
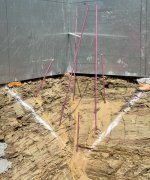
I did add fiberglass rebar for the collar which may not have been needed, but its a small expense in the grand scheme.

For the concrete pour, the way that my pool was situated, he could only get the truck/chute on to basically two sides of the pool. I had to 'pull' the concrete to get it to reach the back wall. I had the driver thin the concrete three times, and near the end of the pour I was exhausted and simply ran out of steam. It was hot af, that coupled with me already being tired was almost a recipe for disaster. If you are by yourself and the truck cant reach all sides, rent a pump truck or get a friend or two.


Concrete Collar 1.jpg


Pool Forms 2.jpg

Pool Forms.jpg

Rebar 1.jpg

REbar 2.jpg
 
It was so hot. I'm from the area so I know. The pool looks solid.
 
I have done a few of these DIY Pools--and I just put Fibers in the footing mix.......much easier than screwing around with rebar. What Floor are you going to use? Probably want to up your quantities since the rock you hit--I'm sure you will be thicker on the Slopes/Hopper. I just filled mine the other day, so just finished this one up. Only hiccup I had was the Fiberglass stairs (which I'll never get again), as the previous 2 pools I did were tanning ledge/vinyl-over steps, and where much easier. I hope you pulled your diagonal measurements before you poured the collar---someone I knew did not, and their liner was ALL kinds of messed up, lol.
 
It's been a bit since I provided an update. Mainly due to lack of significant progress. Continuing to put the time in, but results are slowing a bit. The weather has been so hot and I'm a one man band..
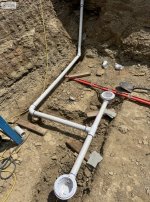
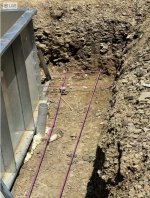
Main Drain 1.jpg

Main drain installed. I dont have a picture, but I did set the base of the drains in concrete and gravel.
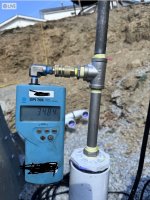
Pressure Test.jpg

Main drain pressure test went well. Pressure media was water, and I used a small amount of air to build pressure.
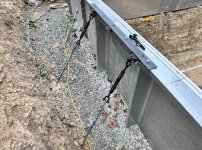
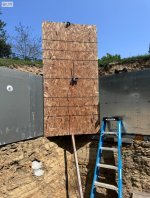
Wall Turnbuckle.jpg

I was a little bit annoyed that after I poured the concrete collar, 2 sections of the walls moved in by roughly 1/4". They bowed inbetween the "A" frame turnbuckles that came with the pool kit, in the middle of two of the 8' wall panels. When you looked down the wall from one end to the other you could easily see it. I made a custom turnbuckle and brace to pull them back in line. Not sure how that happened.
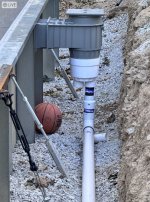
Skimmer 1.jpg

Two skimmers installed. 2.5" skimmer lines. What a pain finding a place that could get me 2.5" in a reasonable amount of time.

Deep End Taper.jpg

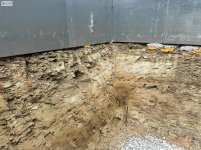
Almost done sculpting the tapered portion of the deep end. As you can see, its almost all rock. Not fun.

Hoping to get the poolcrete in the next week or two and get that installed. Then get the liner ordered. While I'm waiting for the liner I can finish up the plumbing and pour the patio. I am doing concrete coping, so I have to do the patio first, then install the liner.
 
  • Like
Reactions: SunnyP2000
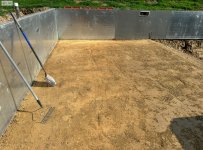
Shallow End.jpg
Shallow End is Leveled!

Deep End 2.jpg
Deep end is leveled! Some of the larger gaps where rocks came out, I will fill with concrete or dirt.

I need to address the area where a big rock was pulled out, once that is complete I will be ready for vermiculite.

Rock Gap.jpg
 
Tanning ledge steps are done.

Tanning Ledge Steps.jpg

I also installed two corner steps in the tanning ledge. I'm ready to measure for the liner. The company selling me the liner said they can measure without the poolcrete installed. I still have some work to do before the liner is ready to be installed.
 
  • Like
Reactions: Lanzz